Rainbow Six: Siege Defense Guide

This guide is designed to help those that have picked up Rainbow Six: Siege that either have no idea how to properly defend an objective or those looking to pick up soon new tips. One particular thing I usually excel at is the defense of objective positions in games and thoroughly enjoy doing it. With Rainbow Six the franchise has always had an intense focus on realism mixed with tactical gameplay and Siege is no different in that regard. I'd like to also mention that these screenshots were taken while playing during matchmaking without any sort of team communication, shows that people actually care about formations of defense and they also do a great justice to the points I'm going to make. I hope these help you out when it comes to play defense in Siege that you're able to properly defend that bomb!

Rainbow Six: Siege Defense

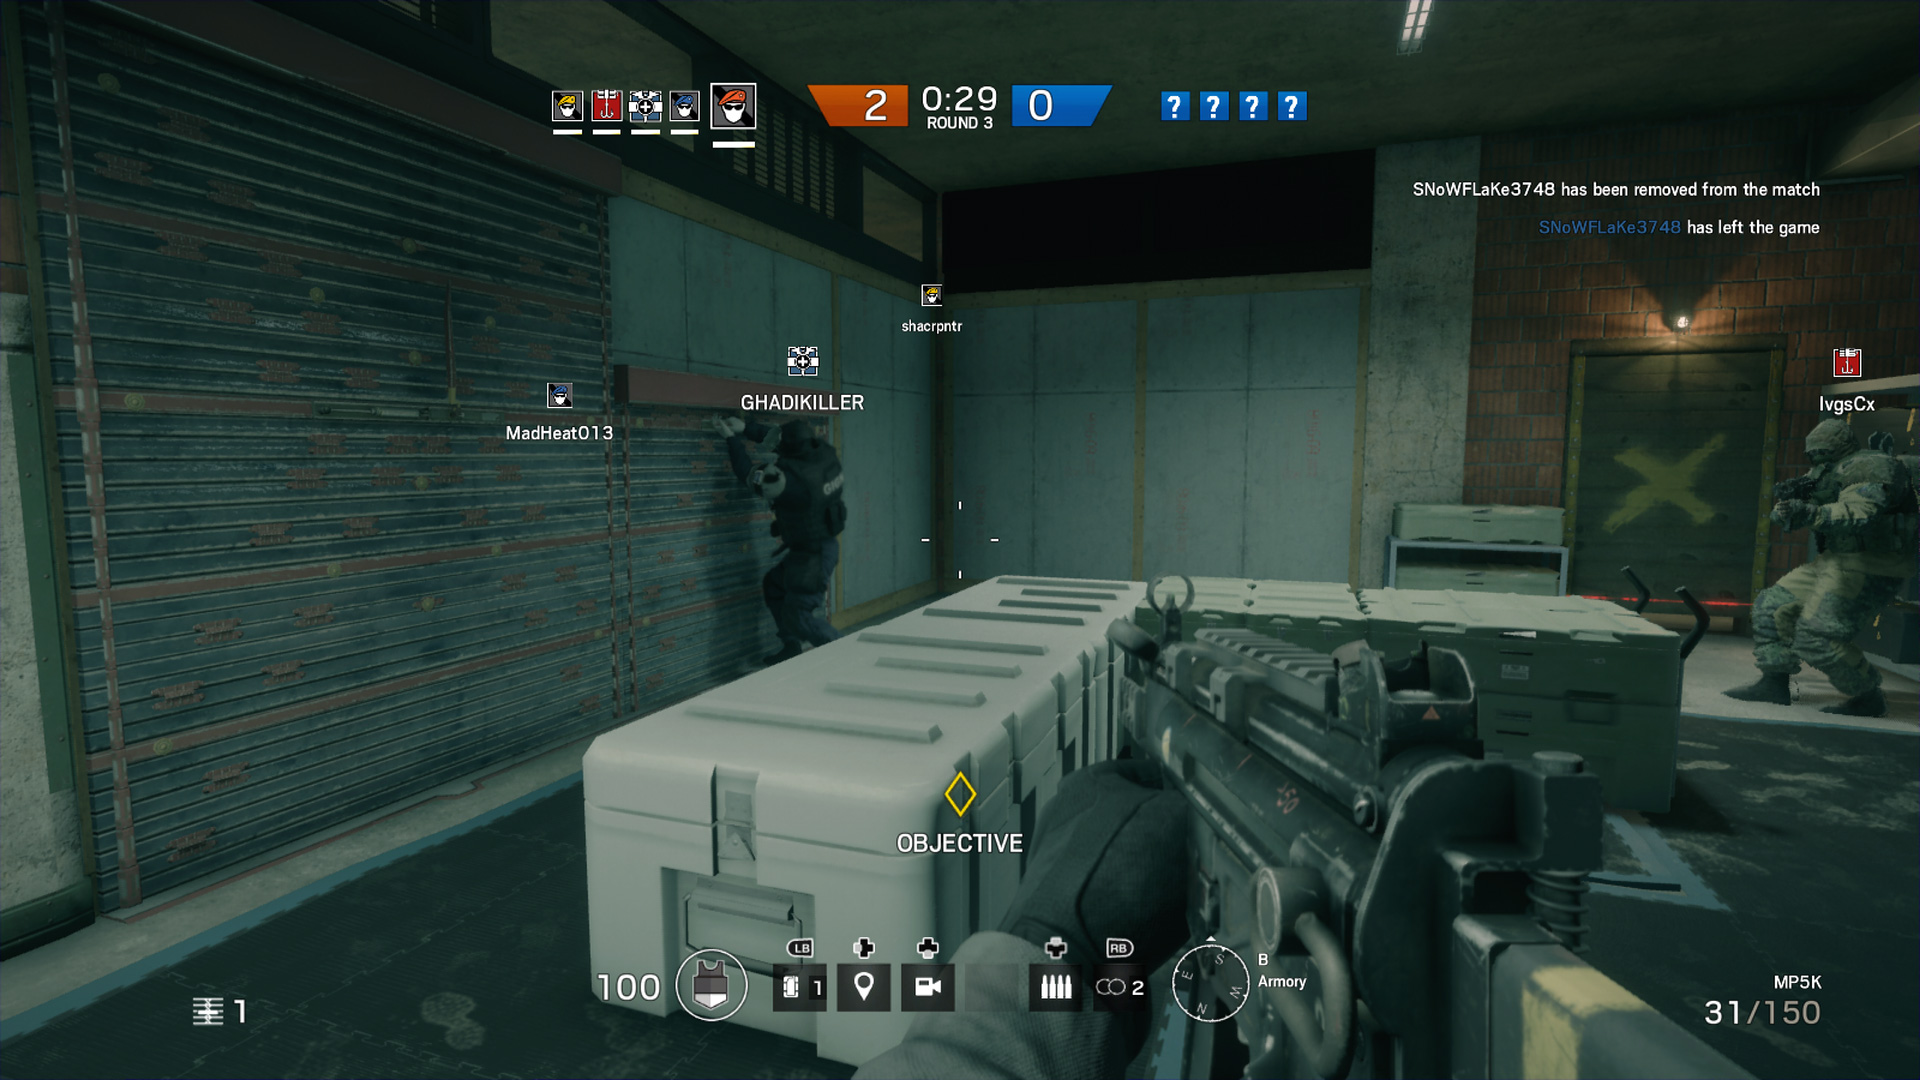
The very first thing when it comes to playing defense is the position. The team gets to select where it gets to defend before the start of every round so everyone needs to pick a spot where they feel comfortable. Personally the absolute best spot is always the armory or basement position since there are less points of attack and you usually have a wall to your back somewhere within the room. If you despise cellars for whatever reason try to pick the top floor so that you at least have a vantage view over the lower levels, but you're still really vulnerable at the many windows sure to be present. The next point comes in discussing how you block walls and basically re-enforce the room you're defending. This is crucial so you don't just get shot through the wall or that C4 makes an unwelcome new path for enemies to swarm into. Players will always have at least one re-enforcement wall to place and you're just hurting the team by not using it. This is used only for walls that can be destroyed such as weak wood.

Rainbow Six: Siege Defense

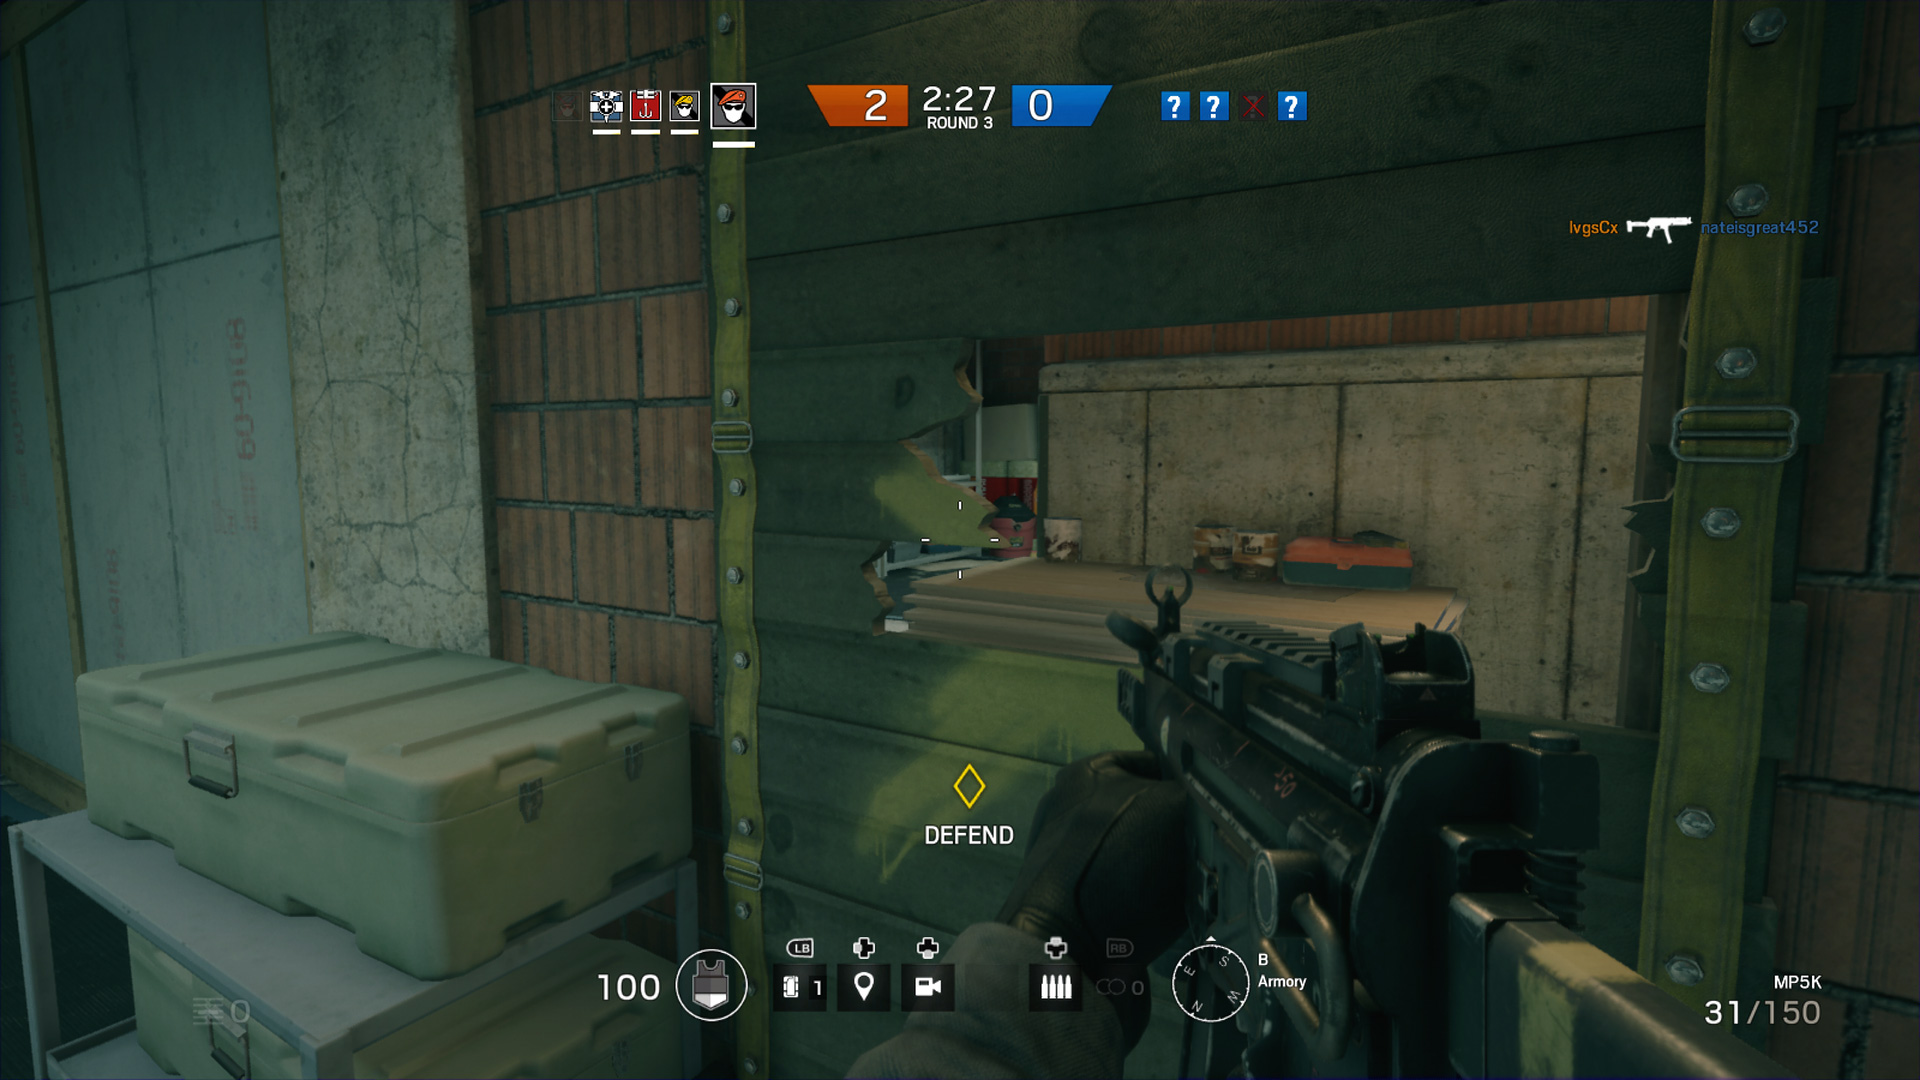
The next aspect to go over are the barricades which come in standard boards like you see with the image above or also in a tougher material depending on your kit. The tougher barricades are obviously better and should be placed only where you don't want enemies to get into since they're much harder to remove. The regular barricade boards are standard and fill so many uses. They provide a quick block off area for paths, can be monitored to see if enemies have come in a certain way or taken blocks off and as temporary cover. The main reason for the image above though it to show that these barricades and be broken at aim level or really anywhere else to only take a board or two and make the perfect cover position. While they can be shot through, they do a great job of absorbing a couple incoming shots while giving you open vantage over oncoming enemies. With that in mind this is also a good area to mention that you need to be wary of shotguns since they devastate cover, players and make huge holes in plywood areas not re-enforced.

Rainbow Six: Siege Defense

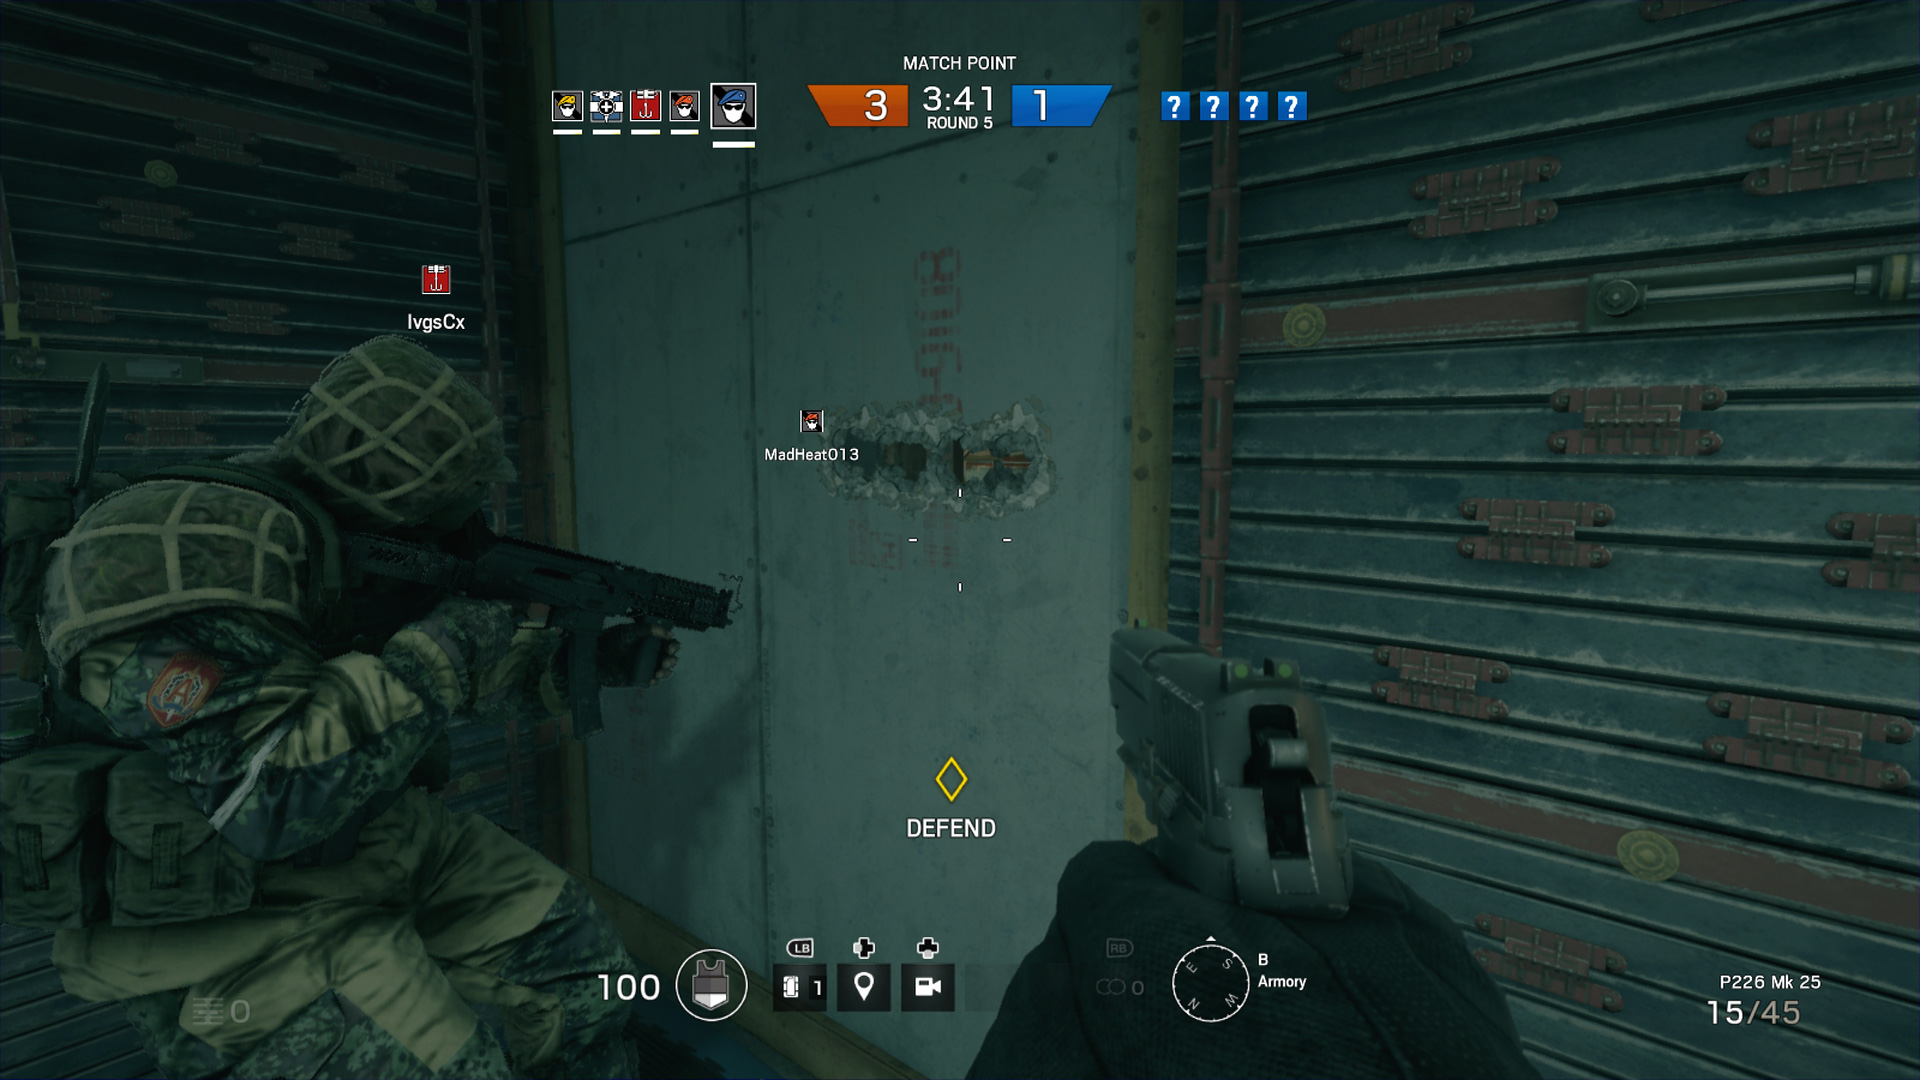
This area will be slightly smaller as I just want to go over creating some vantage points. While it's dangerous to leave most plywood areas open, it can be an advantage for defenders to leave one or two spots open to create lines of sight. Like shown above, by punching or shooting with really non-shotgun weapons you can create holes that are large enough for your team to fire through just like the barricade boards before. These should be placed on edges or to the side of these plywood areas so that enemies aren't drawn to them and you can still get a good shot off from the position. Just be wary that it does leave you somewhat vulnerable compared to just completely boarding them up.

Rainbow Six: Siege Defense

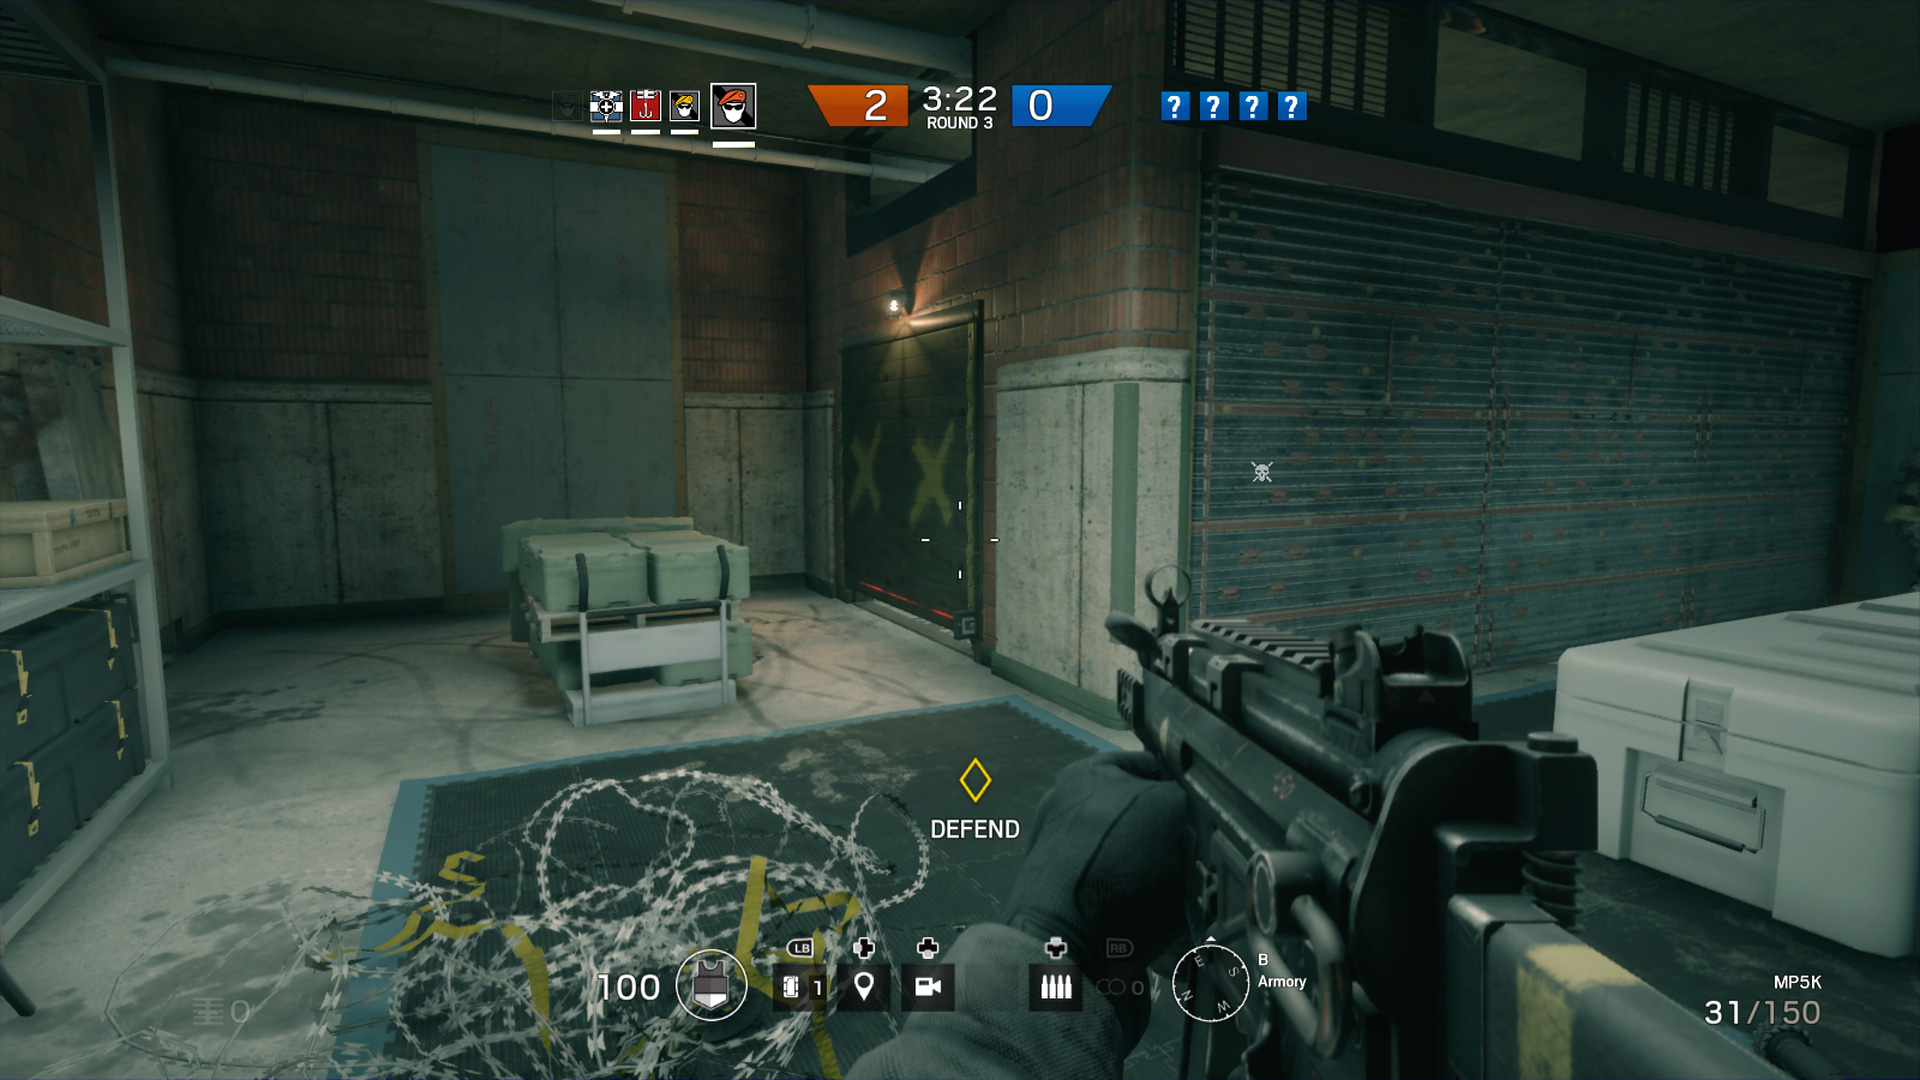
The final phases of defense include using barbed wire, C4 and trip mines among some other details. First up is the barbed wire which doesn't serve much of a purpose aside from slowing progression. I personally use it still in order to slow progress in areas where I've created a longer line of site from behind cover or generally to hide C4 in. The remote charges work wonderfully when enemies are slowed down and makes them easy targets. C4 is also great for surprising enemies try to make their way through a wall and can take out multiple foes. From there we have trip mines which are best used for behind doors as shown in the image above, not much more to say there other then they do get defused quite often. After the setup and following this guide just find a comfy spot beside some areas that don't explode and then wait. Let the defenses do their job and just support along with each other to take out the attackers. You really do have the advantage protecting a place and the game gives you every defensive item you could ever need. Some other tips include not bothering with the small recon robots and just work on getting a defense setup during the pre-round. They're going to find your bombs or know where you're regardless so don't worry about them. Other than that remain calm and don't aggressive seek out your attackers, let them come to you. Hope this helped, or at least gave players some new tricks to try out.

Gamerheadquarters Reviewer Jason Stettner